Promotion


FLV Editor Pro
FLV Editor Pro is the fantastic conversion tool for edit FLV. Along with the program, you can convert FLV to AVI, FLV to MPEG, FLV to MP4, FLV to WMV, FLV to MP3, et as well as edit FLV by its powerful editing functions.

Flash Live Video (FLV) is popular with web designer and Flash fans for the advantages itself that other formats don’t own. It offers high rates of compression and produces high quality video for playback on the websites. In relative terms, FLV is smaller in size than other formats in the same situation. Moreover, you do not have the compatibility trouble in all kinds of browsers. They can work in IE, Firefox, Safari, and Opera.
Usually FLV files are downloaded from YouTube, Google Video, MySpace, etc by FLV Downloader. We will do editing for downloaded FLV to create our own FLV videos for output. Except for converting and editing FLV to other popular formats, FLV Editor Pro can convert FLV to FLV as well. Namely, export FLV including FLV encoding with H.263 and FLV without any recoding. The following tutorial will tell you how to output FLV with this FLV converter.
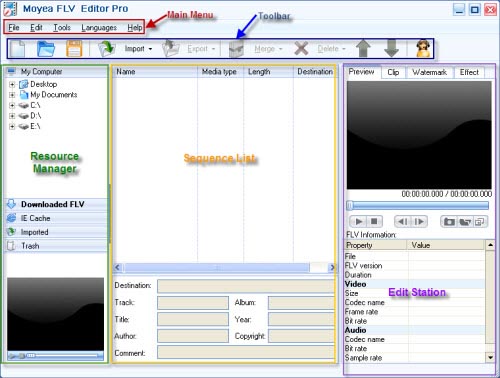
1. Launch the program. The main interface will pop up.
2. Import FLV to the program.
Drag FLV from “Downloaded FLV” tab to the sequence list. You can select more than one video clip to join FLV files by clicking “Merge” button.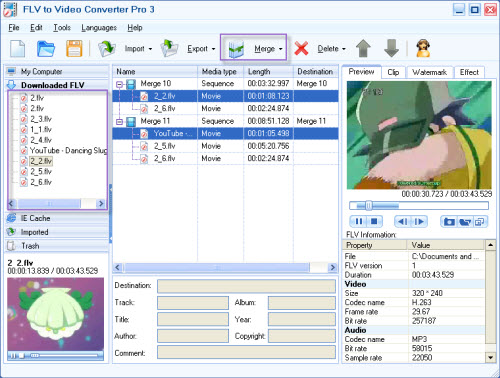
3. Edit FLV.
Click “Clip” tab.
Drag the slide bar or set the precious values to trim the video length. Moreover you can drag and drop the green line on the preview screen to specify wanted video area or cut off the black edges.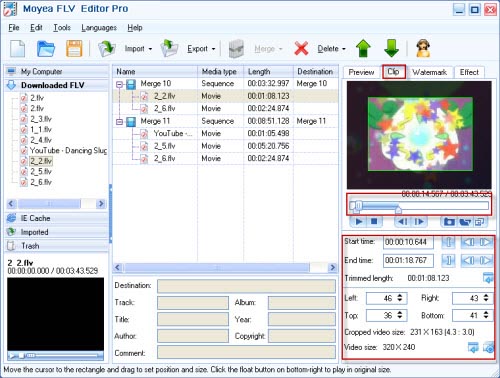
Click “watermark” tab. You can add the image watermark and text watermark.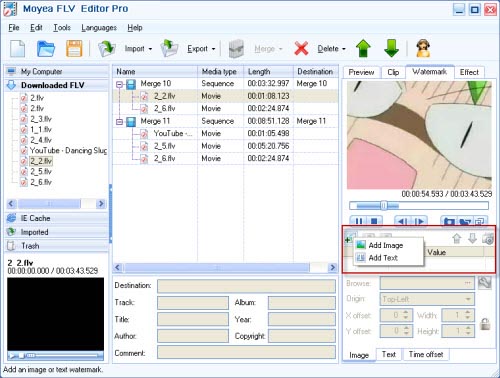
Add image watermark:
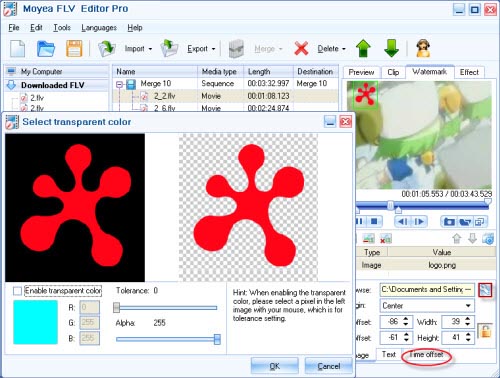
After the image is added, you can drag and drop the green line to set the position and resize it. Click the wrench icon. The program will pop up a window for providing the settings of the background transparency. Click “Time offset” tab to type in the values in the edit box or drag the upper button of the slide bar directly to specify the lasting time of the watermark.
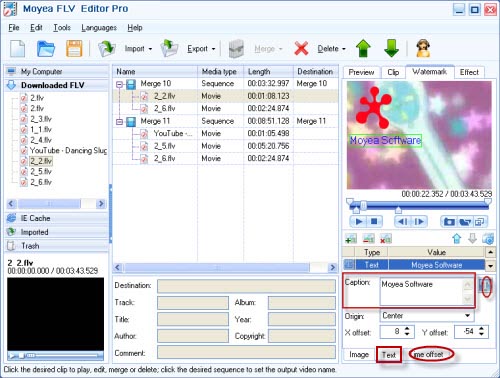
Add text watermark:
Type in the words as the text watermark into the edit box and drag it to choose the position on the video. If you want to set the font size, color, style, etc, just hit “T” icon. In addition, you can use the same way to specify the duration of the text watermark.
Hit “Effect” tab.
In this tab, it is easy to adjust brightness, contrast, and volume. Especially you can choose special effects like spooky, emboss, engrave, etc and flip method to modify your video.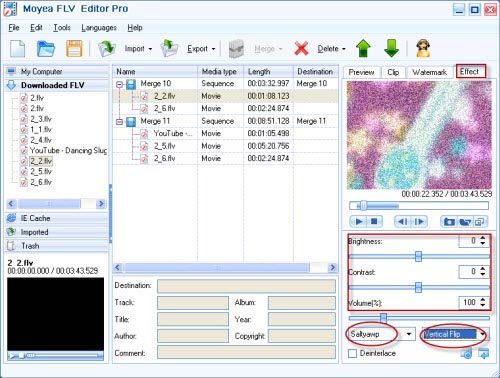
4. Export and convert.
Click “Export” button to output all the sequences in sequence list. The output settings window will pop up. You can specify the output directory, adjust video and audio parameters for better video quality, and choose output format: FLV. It provides two choices: FLV1 encoding with h.263 and FLV without recoding.
Note: If you choose to generate FLV without recoding, just trim function is remained. That is to say, you can only trim the video length if creating FLV without recoding.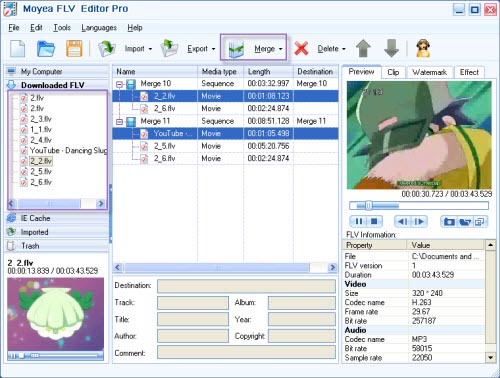
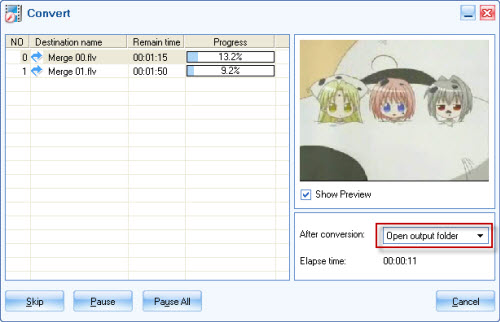
Click “OK” to start conversion. In the process of conversion, you can preview the pictures of the video.
Now FLV files are ready for you! Here you can stream your FLV files to web site for sharing with public.
Tips
- How do you combine several FLV files into one for free?
- Best BlackBerry Torch Video Converter - Convert Video to BlackBerry Torch 9800
- Enjoy Flash Video FLV from YouTube and Google Video on Portable Devices
- AVCHD to iPod - Convert AVCHD to iPod With Best MTS to iPod Converter
- Compare FLV to Video Converter Pro 2 & FLV Editor Pro
- Free Dailymotion Video Downloader - Capture and save videos from Dailymotion
- Convert FLV for Windows Media Player
- How to Convert FLV to AVI for Further Use?
- How to rip Youtube Video FLV to WMA for Playback on Rio Carbon 6GB Player?
- Convert FLV to Pocket PC and enjoy your favorite FLV movies whenever you want